
In recent years, the advent of mobile device applications (i.e. “apps”) has simplified nearly every aspect of living. Through said apps, one can now unlock their car, stream their favorite music, create an interactive grocery list, play a song on a virtual piano, and accept a credit card payment- all from their phone. It was only a matter of time before the mobile app platform technology was applied to help music festival attendees organize themselves and get the most of their $250 ticket.
iCufflinks

You have an iPod, iPhone, iPad and iMac, and you may even have iWear.
Why not iCufflinks?
This is no joke.
For $128, you can have the ultimate set of cuff-links:
Build Your Own Cloud

If you’re in IT, you know that cloud computing is booming and why.
Have you ever thought about setting-up your own cloud for your Church or organization?
You can do just that with Cloud OS:
Cloud.com provides a turnkey cloud infrastructure software stack for delivering virtual datacenters as a service – delivering all of the essential components used to build, deploy, and manage multi-tier and multi-tenant cloud applications in a simple to install software package.
Here’s an overview:
Picture of a Picture from the Past in the Present

You have to go check-out this new photo project called, “Dear Photograph.”
It’s both inspiring and creative, as most of the submissions involve taking old analog photographs and taking new pictures with, more than likely, a digital camera.
As most of my photos go from the camera straight to a hard drive, this photo project breathes new life into those old photographs.
The premise is this: You take a picture of a picture from the past in the present.
Here are some examples:
[Read more…] about Picture of a Picture from the Past in the Present
jQuery Plugin for Lightweight, Flexible Overlays
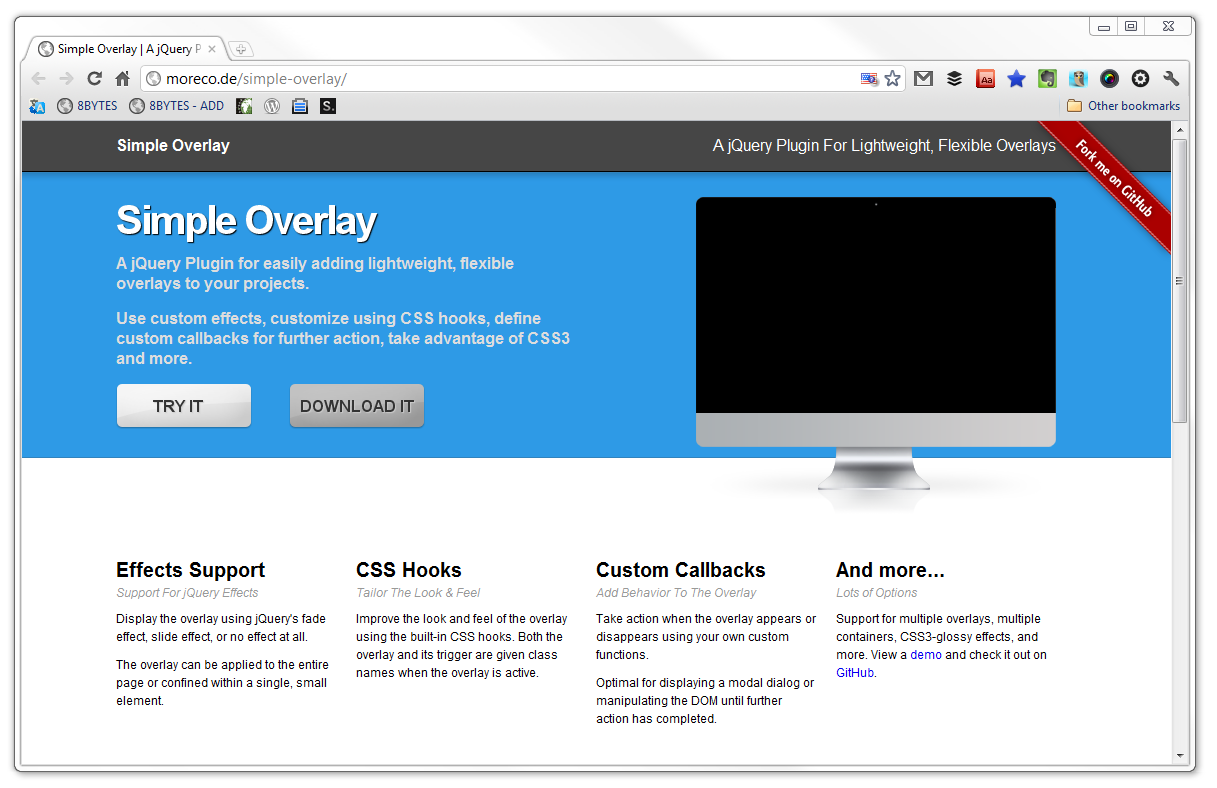

You can’t get much better than this.
Custom effects, customize using CSS hooks, define custom callbacks (did I mention you can customize it?), run wild with CSS3, and the best part?
It’s from Tom McFarlin:
[Read more…] about jQuery Plugin for Lightweight, Flexible Overlays
Writing A WordPress Plugin : 04 Inserting Data
So far with this plugin, we have a game plan for what this plugin is supposed to do, established a place in the WordPress administration environment, and have begun pulling data and formatting the information. But a plugin without an ability to insert new data is worthless, so lets add this feature.
As noted before, we will not be covering the general aspects of how to write PHP code or work with MySQL. To learn MySQL, you can get tutorials online and in printed form. To learn PHP, you can find resources online and in printed form here. Great free tools to use to write code (known as “Integrated Development Environments” or IDEs) are Komodo (for OS X) and NetBeans (for Windows).
Inserting The Data
Difficulty: Intermediate
Completion Time: 1-2 hour
What We Will Be Using: PHP, WordPress Platform, MySQL
Creating The Form
To insert the data, we need to create the form. WordPress suggests that we create a completely separate file, so let’s create a file called add_game.php which will contain ONLY our form. Within this file, we will insert the following code:
" . __( 'Add A Game To The Library', 'mt_trans_domain' ) . "";
?>
There are three things to note in this form. First, we put the form within a function called add_slide(). This will allow us to put this form in its own page on the WordPress administration menu in the Game Plugin section (we will come back to this in a minute). Secondly, the form uses the method POST, which we will discuss at the end of this post. Finally, we added the hidden field action with the value add so that when we go to collect the information, we will be able to distinguish what to do with this information. Now, once you have inserted your form elements, we are ready to add it to the plugin section. Open up game_plugin.php and add this line of code at the very top of the file:
require_once('add_game.php');
Also note in the last post that we had created a menu for this plugin. In that code, you will find this line:
add_submenu_page( 'games', 'Add Game', 'Add Games', 'administrator', 'add_game', 'add_game' );
The add_game is the name of our function that has the form and this piece of code allows us to go to that form in the administration menu any time to add a game. Next, we will get the information from that form we just created.
Collecting the Data
Now we will be collecting the data from the form and inserting it into the database. Go ahead and add this code within the games_option() function:
 if( $_POST[ 'action' ] == 'add' ) { // MySQL : Add Game
 global $wpdb;
 $table_name = $wpdb->prefix . "games";
$insert = "INSERT INTO " . $table_name .
" (title, text) " .
"VALUES ('". $_POST[ 'title' ] . "','" . $_POST[ 'text' ] . "')";
$results = $wpdb->query( $insert );// Put an options updated message on the screen
echo "Game Added.";
}
We look for the action with the value add and then collect the data passed to this file and insert it into the database. There are more tricks that you can do with the data and results from adding the information into the database, but this code will work for you.
Why POST Method?
One great question that I received about this code is why I used the POST method in the form here, but later we will see that I use the GET method. There are two important things about this: it keeps the URL short and it keeps the data private. While the privacy aspect of this feature is not as important with adding games, the length of a URL is extremely important. If someone were to add a game with an extremely long description, the address could end up being pages long. With the POST method, the data is still transferred, but the URL remains the same regardless of what is going communicated. Later, we will be using the GET method for deleting games and deactivating them. The primary reason for this is because it is easy to build a link with the data already in it. (More on this in a future post)


