Everybody wants their Internet speed to be fast. As fast as possible. One hindrance to that speed regardless of whatever bandwidth you may have is your DNS settings.
DNS (for those unfamiliar with it) stands for ‘Domain Name Service.’ Essentially what it does is tie a name (such as churchm.ag) back to an IP address of the server the website resides on. This system makes it very easy for people to find websites. Instead of having to enter in an IP address into your browser (such as 70.30.112.118 for Church IT), one only has to type in the domain name.
The best part is, if the IP address changes it doesn’t matter. The DNS server your browser ‘points’ to in order to look up this information ‘resolves’ the domain name you enter to the IP address and takes you to that website. Unfortunately, not all DNS servers are alike.
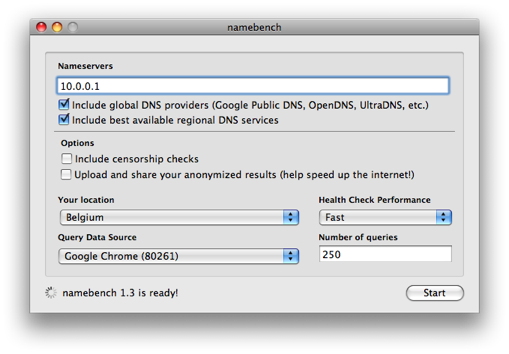
If your DNS server is bad, it will slow down your web browsing. Why? Because despite whatever speed you have, there will be a delay in how long it takes for the DNS server to resolve the name. Thankfully, there is a tool out there to help with this called Namebench. It is available for both Mac and PC. The interface is very simple:
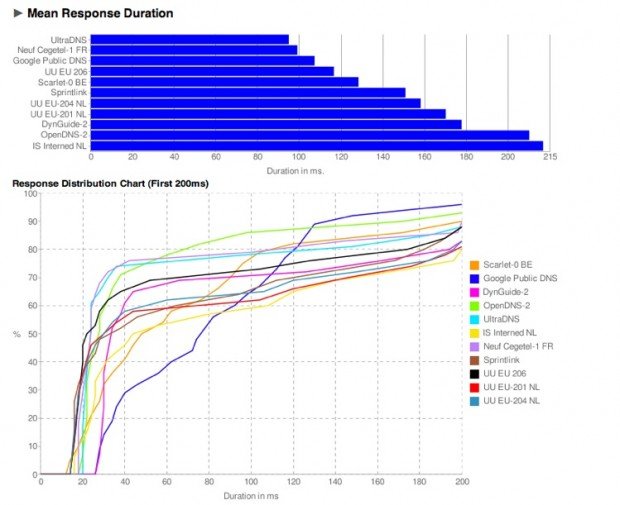
If you have advanced knowledge of DNS, you can tweak the settings but if you’re not too familiar, just leave it with the default settings. After it finishes running, you’ll get a web page similar to the following:
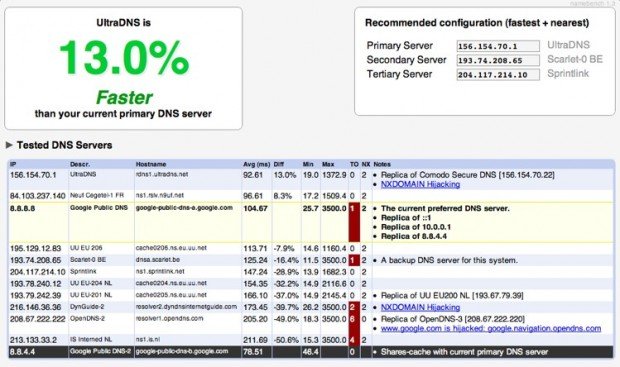
That’s pretty slick. I love OpenDNS, but when I ran it on my own, it found an AT&T DNS server that was 36% faster than my current settings.
So what now? Change your DNS settings. If you’re like most people and have a router, you’ll have to break out the instructions (if needed) and enter the those recommended DNS servers into your router settings. By default, your router is most likely using the DNS settings determined by your ISP. If you’re one that as your computer tied directly to your cable modem or DSL box, you can make the changes directly on your computer.
Tom
I write both code and content for this team and I love every minute of it.


Speak your mind...